How to Prepare for a Trek in Nepal: Packing, Fitness & Permits
Introduction
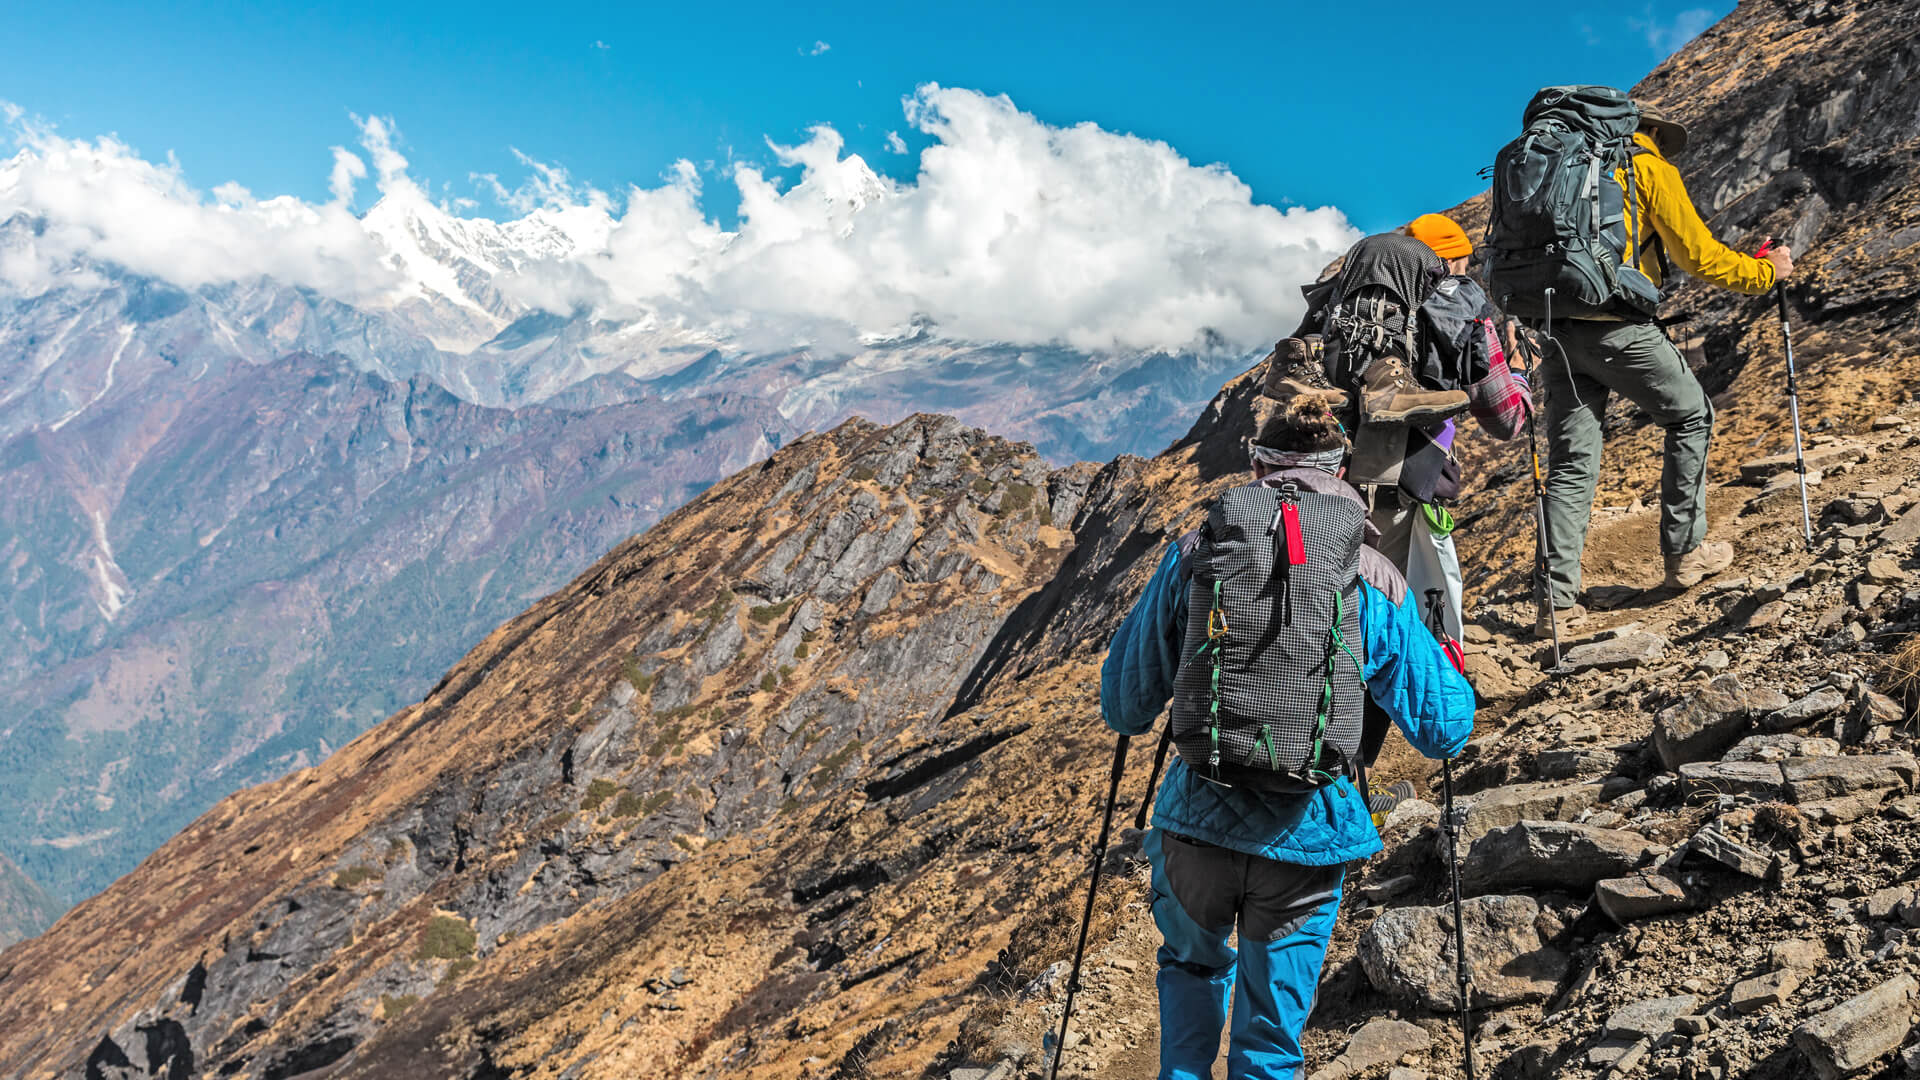
Nepal is full of treks and is a dream for trekkers from around the world. With the highest mountains in the world to trek around, culturally diverse trails to hike, and amazing biodiversity, it is not surprising that every year thousands of trekkers come to Nepal to trek to Everest Base Camp, the Annapurna Circuit, or to explore Langtang Valley. Even with our dreams of snow-capped peaks and beautiful trails, trekking in Nepal is strenuous on our bodies, with significant preparation required. Physically preparing for your trek is essential, as is laboriously preparing if you are not used to walking up and down hills. It is key to prepare for a trek – and to be physically, mentally, and logistically fit for a safe, competent, and rewarding experience.
In this guide, we will highlight the three main areas to be prepared in: the packing of appropriate gear you will need to take, how to prepare for your trek, and the needed permits, so you can trek in Nepal with the utmost confidence.
1. Fitness Preparation for Nepal Trekking: Train Your Body and Mind
On your trek in Nepal, you will be walking between five to eight hours a day, and if you are fit for the trek beforehand, it will be easier and lessen the chances of injury or altitude sickness. Trekkers ideally should begin their physical fitness prep for their trek at least 6 – 8 weeks prior to departure.
There is much trekking to be done throughout Nepal for 5-8 hours a day, often at high elevation and inside every type of rugged terrain imaginable. A good trek starts with good physical training.

1. Training
Prepare and train 6 – 8 weeks prior to departure! Most importantly, don’t wait until your trip to prepare! Trekkers need cardiovascular fitness, leg strength, and endurance in general when trekking at elevation. Therefore, you should start a course of physical fitness well before departing to build your physical fitness level over the weeks and months leading up to your trek!
2. Cardio Exercises
First, prepare for your cardiovascular fitness regimen. The heart and lungs can be prepared for the mountains by hiking, brisk walking, jogging, cycling, swimming, and stair climbing. If you can, do your hikes on trails with elevation gain; if you really want to be realistic, pack a backpack with some weight to mimic the authenticity of a hiking experience.
Hike as often as you can in terrain that has elevation gain: we want to train to prepare you for the nuances of altitude. Trekking, as opposed to typical hiking (or cardio), can “hit” the body differently, so we want to encourage you to hike at elevations above 2,500 meters, but only if you can to prepare for altitude (this may not always be accessible, so educate yourself about altitude sickness (Acute Mountain Sickness or AMS), acquire the knowledge where you can recognize the symptoms (e.g, headache, nausea, dizziness), and then practice how to avoid it. Getting acclimatized, staying hydrated, and accumulating elevation in a timely and gradual approach are all important factors that cannot be taken lightly to stay healthy in the mountains.
3. Strength Training is Key
Strength training isn’t any less essential than cardio. Include squats, lunges, step-ups, and planks in your training. That will strengthen the muscles that stabilize your hips and knees required to walk up steep slopes, and to descend quite steeply. And don’t neglect your upper body! By exercising the shoulders and back, you will discover pack is easier in the long term.
 Fitness training for the Trek
When you have established strong legs and stable core muscles, actually carrying a long hike backpack will be easier.
- Leg Exercises: Squats, lunges, step-ups, and wall sits develop the strength of the muscle groups used for trekking.
- Core Strengthening: Planks, crunches, and mountain climbers establish stability and balance upon uneven trail walking.
- Exercise with Loaded Pack: Acclimate oneself to walking with a loaded pack of 6-10 kg. Practice your pack on flat ground, slopes, and stairs to mimic the terrain you will be walking.
- Acclimatization Readiness: Learn to recognize symptoms of altitude illness if you don’t know what it is. It catches anyone regardless of how physically fit you are, so get to know the symptoms & acclimatize at a moderate altitude, if at all possible.
2. What to Pack for a Trek in Nepal: Smart, Lightweight & Weather-Ready
Having the right pack is having the whole experience in mind: a cold night, a hot day, wind, storm, or snowstorm, without overloading your pack to have too much weight.
 Gears
Gears
1. Clothing Layers
Your clothing will be moisture-wicking base layers, insulating mid layers of fleece jacket or down jacket, and a wind- and water-proof outer layer. Pack two or three base layers (long sleeves), one or two mid layers, and one outer jacket if you possess it. Do not forget your trek pants, sun cap, warm woolly hat, windproof gloves, and buff or neck gaiter to prevent the wind from getting to your neck.
- Base layers: thermal top and leggings to wick sweat off your body for acclimatizing yourself to the heat.
- Outer layer: Windproof jacket, waterproof snow pants for rain/snow.
- Mid-layers: Quilted jackets of down or fleece filling for insulation.
- Extras: wool hat, gloves, buff/scarf, sun hat for daily protection.
2. Footwear: Comfort Comes First
The most important thing that you will be packing is your footwear. You need to obtain quality, size-appropriate, durable, broken-in trekking boots that support your ankles. DO NOT wear boots that you have never used or are brand new on the trail, because the last thing you want happening on your trek is blisters that will ruin your trip. You should also take lightweight sandals or camp footwear for the evenings. When buying socks, take 3 to 4 pairs of quality trekking socks, which will be merino wool or some sort of moisture-wicking synthetic blend that will minimize moisture build-up and reduce friction.
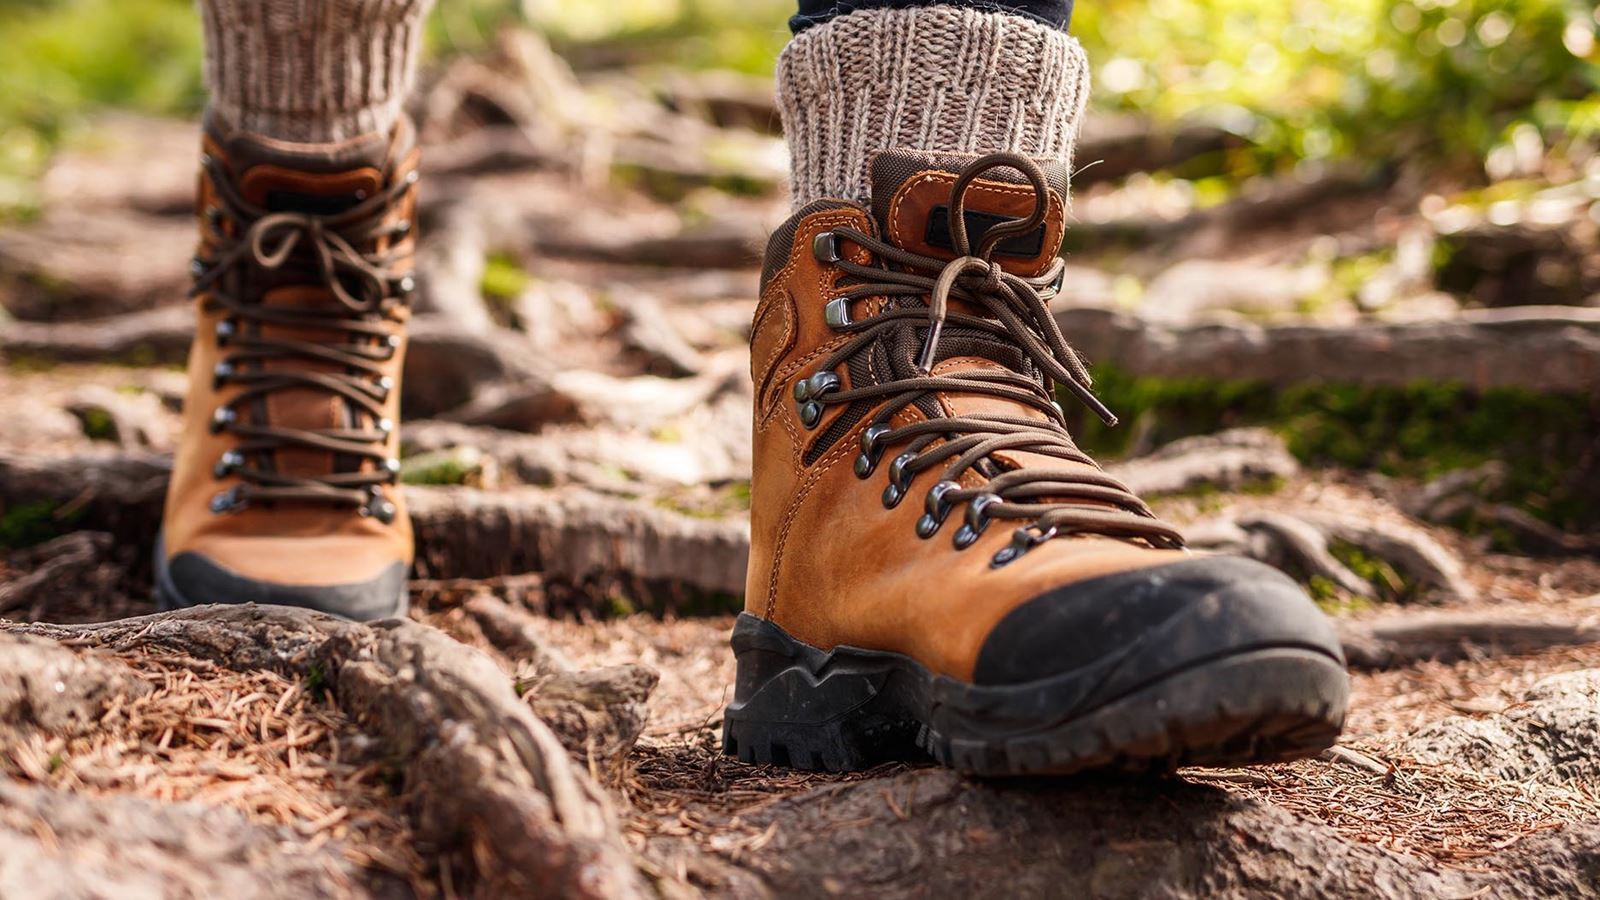 Trekking Shoe
- Trekking boots: Wear comfortable, broken-in, waterproof, ankle-supporting boots.
- Camp shoes: Lightweight slippers or sandals to wear when you are relaxing in teahouses.
- Socks: Take 3–4 breathable and moisture-wicking merino wool or synthetic trekking socks.
3. Trekker’s Gear Essentials
Another important item is a sleeping bag that is rated to at least -10°C, especially, if you will be trekking over 3,000 meters, take your sleeping bag, and a reasonable day pack (30L – 40L). A couple of trekking poles are useful for reducing strain on knees and keeping stability when you are using them on steep or rocky sections of trail. A headlamp will be useful for early morning starts and if there is a power cut with remote lodges.
Be sure to pack some water bottles or carry a hydration bladder with purification tablets or a filter, since bottled water can be expensive and adds to the environmental pollution left behind from following in their footsteps in some of these areas.
 Packing Gears
- Daypack (30L–40L): As a first step, you’ll pack a daypack for carrying water, snacks, a camera, and a rain jacket.
- Sleeping Bag: Use a down sleeping bag – rated to -10°C, or lower.
- Trekking Poles: Improves stability and may reduce strain on your knees if you’re traversing, particularly on rocky trails.
- Headlamp: To help you with early starts, even when you have electricity, it is particularly important in off-grid villages if the power is off, and getting worse if you are trekking on a cloudy day.
- Water Bottles & Purifier: You can pack up to 2 liters and make use of water purification tablets, or a water filter, to avoid buying so much plastic bottled water.
4. Toiletries & First Aid
Packing out your toiletries should be easy – travel size + eco-friendly: Small towel, biodegradable soap, toothbrush/paste, sunscreen, lip balm with SPF, hand sanitizer, toilet paper. Be sure to pack out the feminine hygiene products. Disposal options are limited in the mountains. Lastly, pack a general first aid kit, including medication for altitude sickness.
- Quick-drying towel, green soap, toothbrush, and toothpaste.
- Hand sanitizer, toilet roll, and tampons.
- First aid kit: blister pack, painkillers, antiseptic, band-aids, Diamox for altitude.
4. Identification and Miscellaneous
Passport photos and passport.
Paper copies of your permits and insurance.
Power bank, charging cable, spare batteries.
Sunglasses, SPF 30+ sunscreen, SPF 30+ chapstick, and energy bar snacks.
3. Nepal Trekking Permits: What Permits You’ll Need and How to Obtain Them
Nepal permit requirements vary depending on the trekking region you utilize. Always obtain the proper documentation before your trek.
1. TIMS Card (Trekkers’ Information Management System)
The TIMS card (Trekkers’ Information Management System) is required for most of Nepal’s major trekking areas. The TIMS card was designed with the purpose of helping authorities follow trekkers in the event of an emergency. As an individual trekker, you must complete the TIMS application. Trekkers participating with an individual licensed guide/agency will receive their TIMS card along with their intake package. As of 2025, the TIMS will be retiling at NPR 2000 (approximately $15) for independent trekkers and would incur NPR 1000 (about $8) for agency trekkers.
2. National Park or Conservation Area Permits
You’ll also require trekking permits depending on your plans, trekking in the national parks or conservation areas. You’ll require an Annapurna Conservation Area Permit (ACAP) for trekking in the Annapurna zone, or a Sagarmatha National Park Permit for trekking to Everest. The permits cost between NPR 3,000 on average and are obtainable at Nepal Tourism Board offices in Pokhara or Kathmandu.
3. Restricted Area Permits (RAP)
There are only a few of Nepal’s trekking destinations that are off bounds. They are Upper Mustang, Manaslu, Nar Phu Valley, and Tsum Valley. You’ll require a Restricted Area Permit (RAP) to trek there. A RAP is only available through a licensed trekking company. Otherwise, you can’t trek to these destinations independently. You would need to have at least two of you, and hire an organized licensed guide through the agency. It is very costly based on where you trek and for how long you trek. Upper Mustang, for instance, will be $500 for 10 days, and Nar Phu is $100/week high season. Prices fluctuate very frequently, so be sure you look at the posted current prices and regulations.
4. Best Time To Trek in Nepal: By Season
The best time to trek in Nepal will make or break your entire experience. The best trekking months tend to be spring (March-May) or autumn (September-November), when your weather will be reliable, skies will be clear, and temperatures will be reasonable.
 Mansoon Trek
1. Spring (March to May)
Spring provides all the greens and flowering rhododendrons, particularly lower down in the Himalayas. The views are usually good, but there will probably be some pre-monsoon rain towards the end of May. Autumn is best, normally colourful with fresh air, blue skies, and grand mountain vistas. The trails and teahouses are busy in October and the first half of November, so book early for rooms and permits.
2. Winter (December to February)
Winter (December to February) is cold, particularly at high elevations where it may even snow, and a few of the high passes will be closed. Lower-altitude treks such as Ghorepani–Poon Hill or the Helambu Circuit are available and much less touristy. The monsoon (June to August) is the worst season to trek with heavy rain, slippery trails, leeches, and danger of landslides. But rain-shadow regions such as Upper Mustang or Dolpo are arid, open in the monsoon season, and provide alternative trekking options.
5. Solo or Guided: What’s Best for Your Trek?
Most areas in Nepal have independent trekking options, and many solo trekkers have fun and enjoy the freedom of flexibility in their travel. Trekking solo gives autonomy to travel at your own pace, the ability to change plans last minute, and the ability to travel to less popular places at a lower price. Solo routes are generally well marked with plenty of teahouses along the route; popular solo trekking routes include Everest Base Camp, Annapurna Base Camp, and Langtang Valley.
On the other hand, it can be tough – finding your way in remote areas is tricky even in good conditions and off season tried and the help you might enjoy may not be close if you become ill or injure yourself. Here a guide or a porter will be advantageous. A local guide not just makes things easier – adds extra safety, helps make translating easier and allows you to be more immersed with someone who can help give you cultural and geographical context of where you are. A porter provides knowledge by decreasing weight from your body and allows you greater ease in trekking and overall makes trekking more enjoyable.
If you are trekking in a restricted area you will already have either hired a trekking guide or taking a guided organized trek. Restricted areas require you to travel with a registered guide and obtain the required area permits through a registered agency. Even if you decide to trek solo or with a guide, it is always valuable to let someone know of your travel route beforehand and to check in for any local updates on weather conditions and trail updates.
6. Altitude Awareness: Stay Safe and Acclimatize
Altitude sickness, or Acute Mountain Sickness (AMS) is likely the most dangerous aspect of trekking in Nepal. Anyone above 2,500 meters can develop AMS irrespective of fitness, gender or age. The most effective method to protect against the threat when at altitude is acclimatisation.
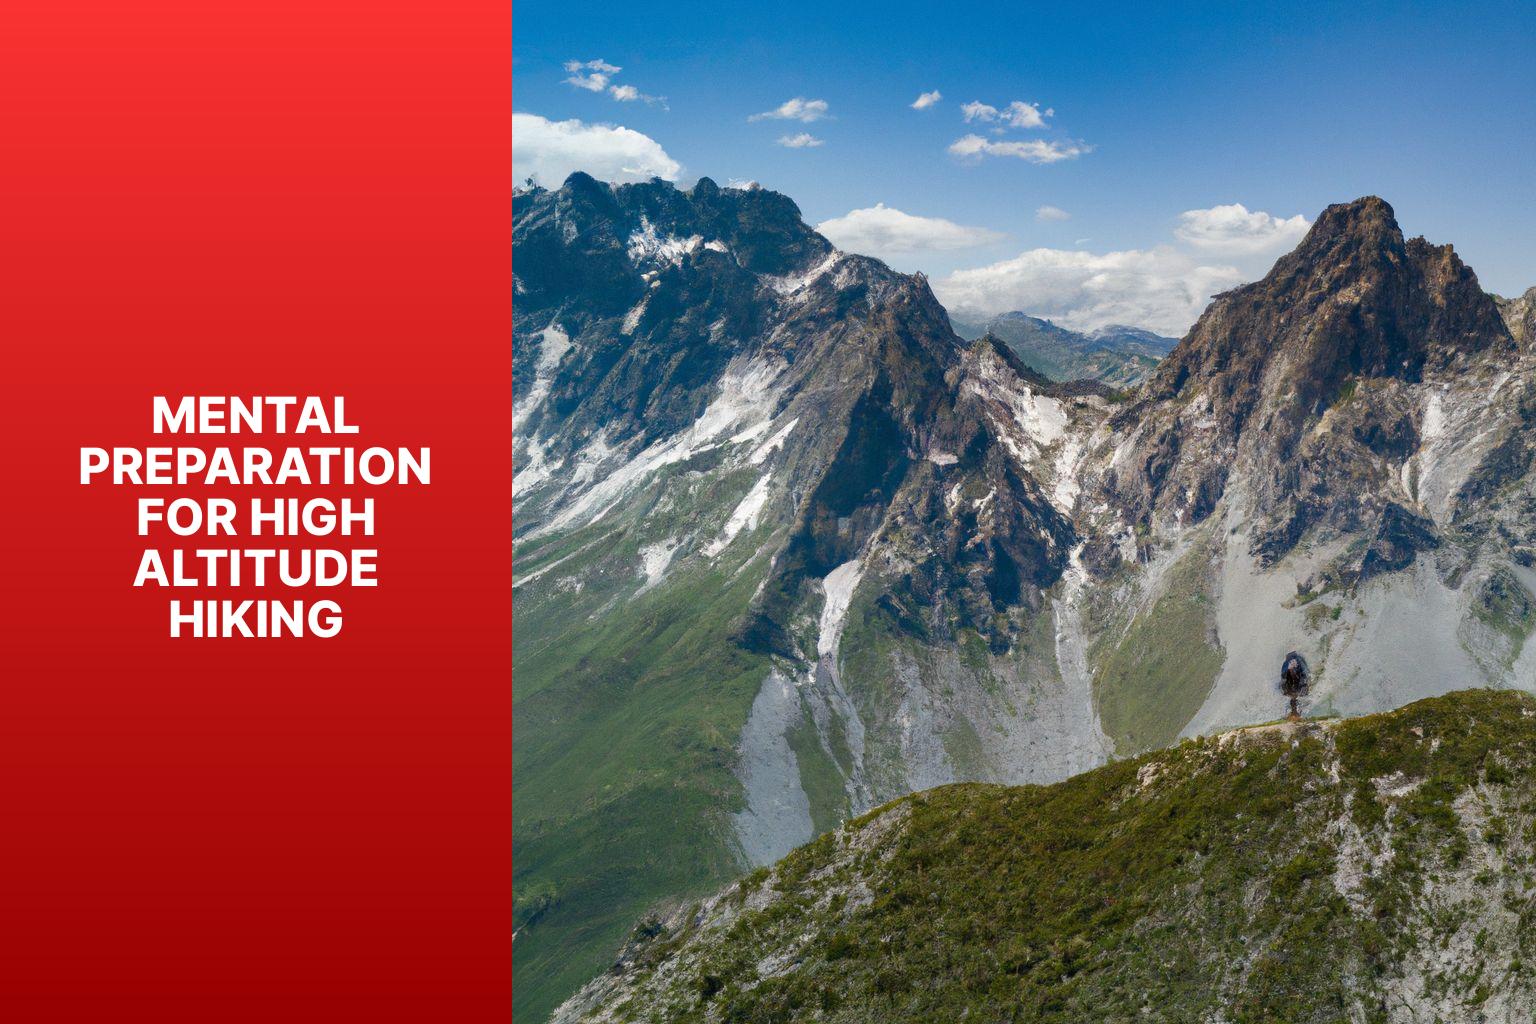
Accilimization refers to allowing your body a transition time to acclimatize to thinner air changes by climbing slowly, and featured rest days when you’re not off of climb. A good general rule is don’t climb more than 500 meters a day if you’re above 3,000 meters. Although not altitude sickness specific, trails such as the Everest Base Camp have included acclimatisation days specifically because it’s actually normal and required that trekkers acclimatise at places such as Namche Bizarre or Dingboche.
Way to Acclimatize
- Go Slow: Climb slowly, as mentioned above. As a general guideline, sources suggest that you shouldn’t climb more than 500 meters per day.
- Rest Days: Incorporating acclimatization days into the exercises on the treks (e.g. Namche Bazaar on the Everest trail).
- Stay Hydrated: Consume 3-4 litres of water per day, and no alcohol or caffeine, only consume whatever water is available in these remote locations.
- Watch for symptoms: Headache, lethargy, nausea, insomnia, are all signs of impending AMS.
- Take Medicine: If symptoms worsen, take Diamox but only after speaking with your physician first. Diamox is preventative, not treatment, of AMS.
If you experience worsening of symptoms or question your symptoms, go down immediately. Altitude sickness kills but is highly preventable with ongoing education!
7. Budgeting for Your Trek in Nepal
Nepal offers treks for all budgets, but planning your finances helps avoid surprises.
1. Solo trekking
Solo trekking is the lowest cost method of trekking in Nepal and costs $25-$40 per day. You will have the simplest facilities in guesthouses (or teahouses), plain fare such as dal bhat or noodles, and the bare minimum of trekking gear. You will be carrying your pack, deciding your route, and making all the arrangements by yourself. This is ideal for experienced trekkers who do not mind following along tracks and footpacing without a qualified guide. Trekking with a Guide or an Agency
If you want more assistance you can trek with a guide, or a local agency, and this will generally cost $50-$100 a day.
It will usually encompass a certified guide, a porter to pack your backpack, all your permits, transport to/from the trailhead, your accommodation, and food. It’s an excellent way of providing the safety, comfort, and cultural experience for first-time trekkers or those trekking in remote areas of Nepal.
2. Full-Service Trekking Packages
If you would like full organization anywhere between $800 and up over $2,000 are available for a 10-15 day trek depending on the region and level of service. Full service trekking packages generally are all inclusive, from airport pickup and a hotel in Kathmandu, domestic flights, guide and porter services, permits, meals, accommodation, and sometimes rented gear. It is a low stress option especially for someone that is a first timer to the area or is on a limited timeframe.
3. Extras to Expect
While you are provided with the basic essentials on a daily basis, there are extras incurred on trail. For example, hot showers in teahouses are usually in the range of $1-$3 depending on your elevation. There are costs incurred for charging electronics or using wi-fi which is around $2-$5 depending on the place you stay. It is customary to tip guides and porters, budget roughly 10-15% of your total trek cost. Snacks, bottled drinks, and chocolate bars are substantially more hi-priced on trail versus cities, so budget for these as well, in your overall daily expenses.
8. Respect Local Culture and Environment
Nepal trekking is not geology only. It is people interaction and place usage too.
1. Dress Sensitively:
When trekking by traditional best practice in Nepal, particularly rural or traditional areas, cultural custom needs to be considered. Avoid shorts, crop tops or indeed anything that might be described as revealing, apart from which it will be considered cultural insensitivity and generally disrepectful.
2. Ask Permission for People, Rituals or Sacred Places:
In general, always ask permission if you want to photograph people, ceremonies or shrines. Some may regard this as intrusive and even photography is prohibited in some temples and has to be done with respect towards culture and religion.
3. Reduce Waste
Do your part to maintain the loveliness of Nepal’s environment with your trash. Bring a refillable water container, bring purification tablets or equipment and try not to use single-use plastics or prepackaged food as much as possible to minimize trash on the trails.
4. Support Local Business:
Imagine sleeping in teahouses that belong to the villages and buying fruits and vegetables from villagers and handicrafts from artisans of villagers. In this manner, directly you are investing your money in supporting families and creating sustainability and community-based tourism for Nepal.
Leave Trace—pack everything that you carry with you, and travel responsibly.
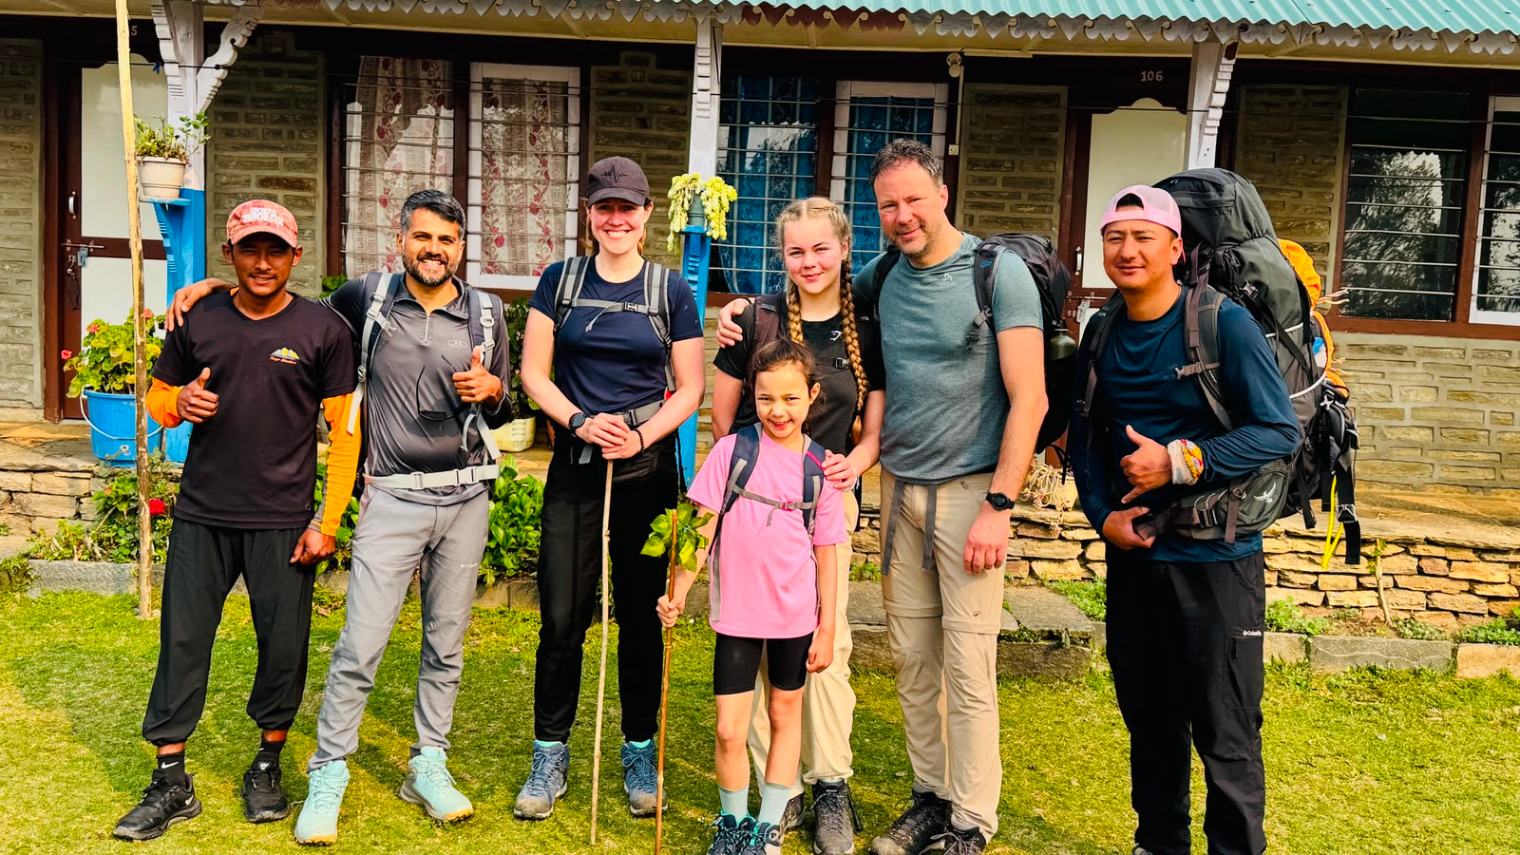
 Trekkers
Final Thoughts: Make Your Trek to Nepal a Life-Changing Adventure
Nepal trekking is one that will challenge your physique, enrich your soul, and introduce you to nature and culture, something new compared to what you’ve encountered before. But cautioned, such life-altering experiences do not happen by accident – it’s the result of preparation. Whether it is increasing your physical fitness; going through the acclimatization process; deciding what clothes and equipment to take along with you; or what permit to buy, all of that which you decide before taking your first step on the path is a consideration for your hike to the Himalayas.
With great planning; people, environment, and culture sensitivity; and great positive attitude,Trekking in Nepal can be wonderful, safe, and rewarding. Whatever it is, whether Everest Base Camp trek, Annapurna or a hidden trail, the majesty of the mountains awaits you. With determination and preparation, your Nepal trek will be a rewarding, unforgettable, and life-changing experience. Contact us today at Happy Mountain Nepal, Facebook, Instagram, or TikTok.